Warning: Undefined variable $post in /home/clients/41c746e85d5027220921da2635efec21/sites/itoubib.fr/wp-content/themes/generatepress_child/functions.php on line 26
Warning: Attempt to read property "ID" on null in /home/clients/41c746e85d5027220921da2635efec21/sites/itoubib.fr/wp-content/themes/generatepress_child/functions.php on line 26
Warning: Undefined variable $crunchifytitle in /home/clients/41c746e85d5027220921da2635efec21/sites/itoubib.fr/wp-content/themes/generatepress_child/functions.php on line 32
Warning: Trying to access array offset on value of type bool in /home/clients/41c746e85d5027220921da2635efec21/sites/itoubib.fr/wp-content/themes/generatepress_child/functions.php on line 36
Warning: Undefined variable $linkedInURL in /home/clients/41c746e85d5027220921da2635efec21/sites/itoubib.fr/wp-content/themes/generatepress_child/functions.php on line 43
We have seen in previous notes of our series The backpacker of the switcher first of all the basic operation of Mac OS and in particular the Finder then the installation and the management of the applications and finally the setting of System preferences. Because this series is mainly aimed at Windows users who have just switched to Mac and that one of the major fears during its switch is not to find all of our applications (or equivalent) in Mac OS, we will see Today how to use the program provided by Apple to install Windows: Boot Camp. In a second step, we'll quickly see the virtualization solutions available on Mac OS.
The Boot Camp installation
We will first describe how to install Boot Camp. The entirety of what is described below is valid for both Windows XP, but also for Windows Vista. The integration of Windows Seven at Boot Camp is not yet officially ensured (year-end according to Apple's words), but some have successfully installed with the Snow Leopard DVD. To install Windows on your Mac, you will obviously need an original Windows installation CD with a valid license as well as the Mac OS installation DVD (if possible Snow Leopard).
To use Boot camp, we will simply fetch the boot Camp utility that is located in the "Utilities" folder of your system's Applications folder. But, because you've already looked at the previous tutorials, you know that there is a much simpler and much quicker way to launch an application: Spotlight.
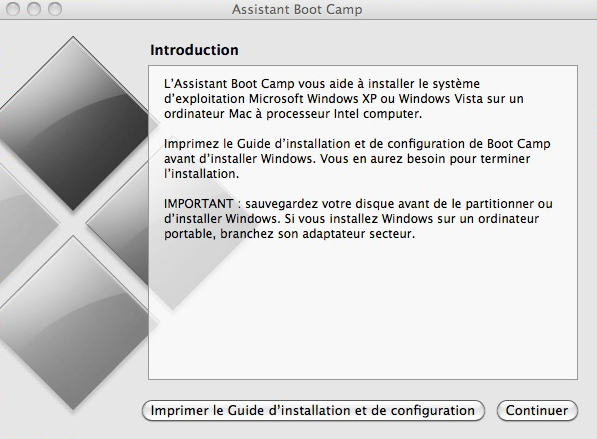
So we type "boot Camp" in Spotlight and automatically, he will offer us the Boot Camp wizard.
Click Continue.
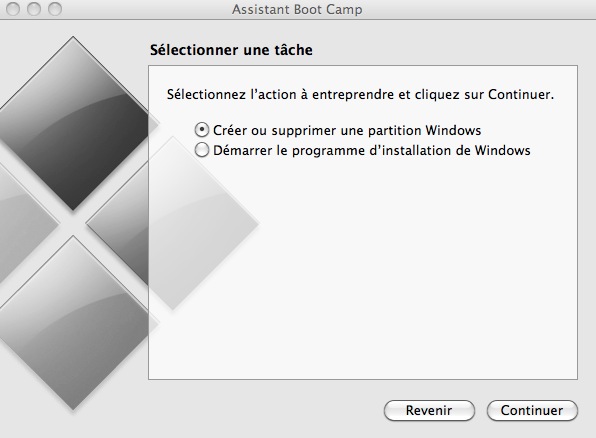
The wizard proposes that you create or remove a Windows partition or, if you already have a Windows partition on your hard disk, start the setup program.
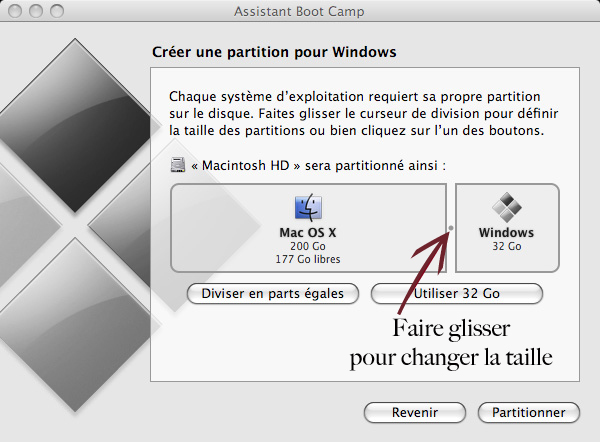
If you click on "Create or delete partitions", it will provide you with a graphical interface simple allowing you to select the size of the Windows partition relative to the size available on the MAC OS partition. If you are not planning to use Windows for extremely heavy applications, you can take the basic partition size that the Boot Camp Wizard will offer. If you are considering installing heavy-duty applications on your Windows partition (such as installing games), I suggest you increase the size of this partition a little bit. I personally have a 500 GB drive on my MacBook, and I have allocated to Windows a partition of a size of 100 GB.
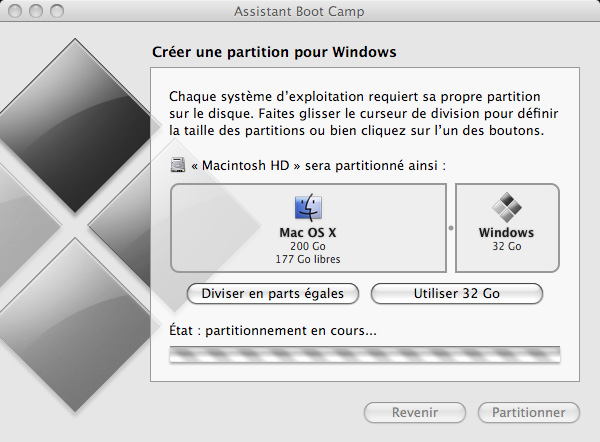
The question that can be asked is the security of modifying a partition while we already have MAC OS installed on the same disk. Repartitioning will be done without destroying the data already registered, even if personally I advise you to perform a small backup on an external disk. You're never too careful. Once you have selected the size of your partition, click on "Partition".
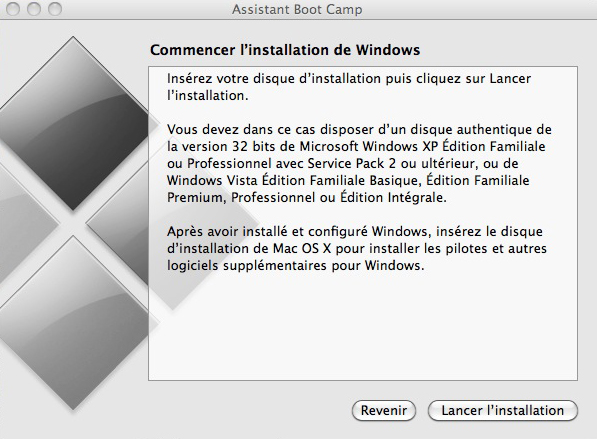
Partitioning completed, you will find two hard disks in the left column of the Finder. The Boot Camp Wizard then offers you to insert your Windows DVD or CD and click Start Installation.
It will take action to restart your computer directly on the CD you just inserted.
Installing Windows
Once restarted, Windows will be installed in the most traditional way. In the installation procedure, I advise you to format the Boot Camp partition created by using the Windows Wizard. Indeed, many users, including your servant, have had problems to install directly Windows on the formatted partition thanks to the Boot Camp Wizard. Be sure to select the Boot Camp partition when formatting and not the partition of Mac OS.
Normally, the Setup wizard should indicate that you are restarting either on the CD or on the Windows partition (Boot Camp). If this is not the case (on reboot, it is Mac OS that is loading), and anyway in the future when you want to boot on your boot Camp partition rather than on Mac OS, press the ALT key when you start your computer and wait for the entire Available partitions are offered. You just need to select the Windows partition at that time.
Once the Windows Setup procedure is complete, you will arrive on the Windows desktop with obviously none of the drivers necessary for the operation to install. To do this, simply insert your Snow Leopard disc into your DVD player, you will find in the DVD Player a setup program that will itself install all the drivers necessary for the proper operation of Windows on Your machine.
One last reboot and it's over.
removing Boot Camp
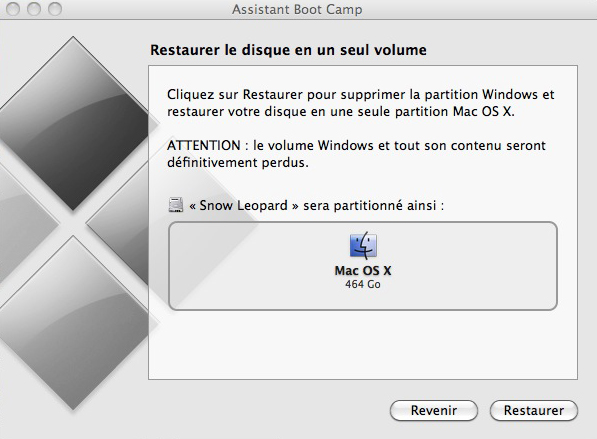
You no longer need Windows and therefore want to delete the partition that you created. In a very simple way, you just have to restart the Boot Camp Wizard, select "Create or delete partitions". You get to the next window where you just have to click on the "Restore" button to restore the entire MAC OS partition to your hard disk.
Virtualization Solutions
We have just installed Windows on a partition apart that will allow you to use it with the full power of your machine available. Apart from games and some particularly greedy applications, you will not always need all this power to use one of the few applications that you absolutely need and which you have not found Mac OS equivalent. In the latter case, virtualization solutions are particularly suitable because they allow you to launch Windows and its applications directly on the MAC OS desktop without restarting your computer.
There are currently three solutions: Virtual Box (free), Parallels Desktop and VMWare Fusion.
It would be too long to detail in this tutorial the installation of each of these solutions. Just know that all of these softwares are able to recover data from your Boot Camp partition to create a Windows virtual machine with minimal intervention on your part.
I personally use Parallels Desktop as you could see on a previous note regarding the installation of Google's operating system "Chrome OS".
Attention however to the activation of Windows. In fact, when you have started on BootCamp, it will be necessary to activate Windows according to the usual procedure. This is no problem in this case, but if you enable the BootCamp partition in a virtual machine regardless of which software is selected, Windows will prompt you for a new activation because it will consider that there has been a significant change in hardware. For Parallels Desktop, there is no particular problem with activating a second time. Everything will work without a problem. However, consider changing the entire hardware specifics of your virtual machine (all being virtualized, everything can easily change) before you perform the process. If there is a problem with the automatic activation process, a phone call to Microsoft will solve the problem (avoid specifying that it is a virtual machine problem;-)).
Maybe a next ticket to come…
PS: I'm curious to know your impressions after discovering Windows on a Mac. 😉

